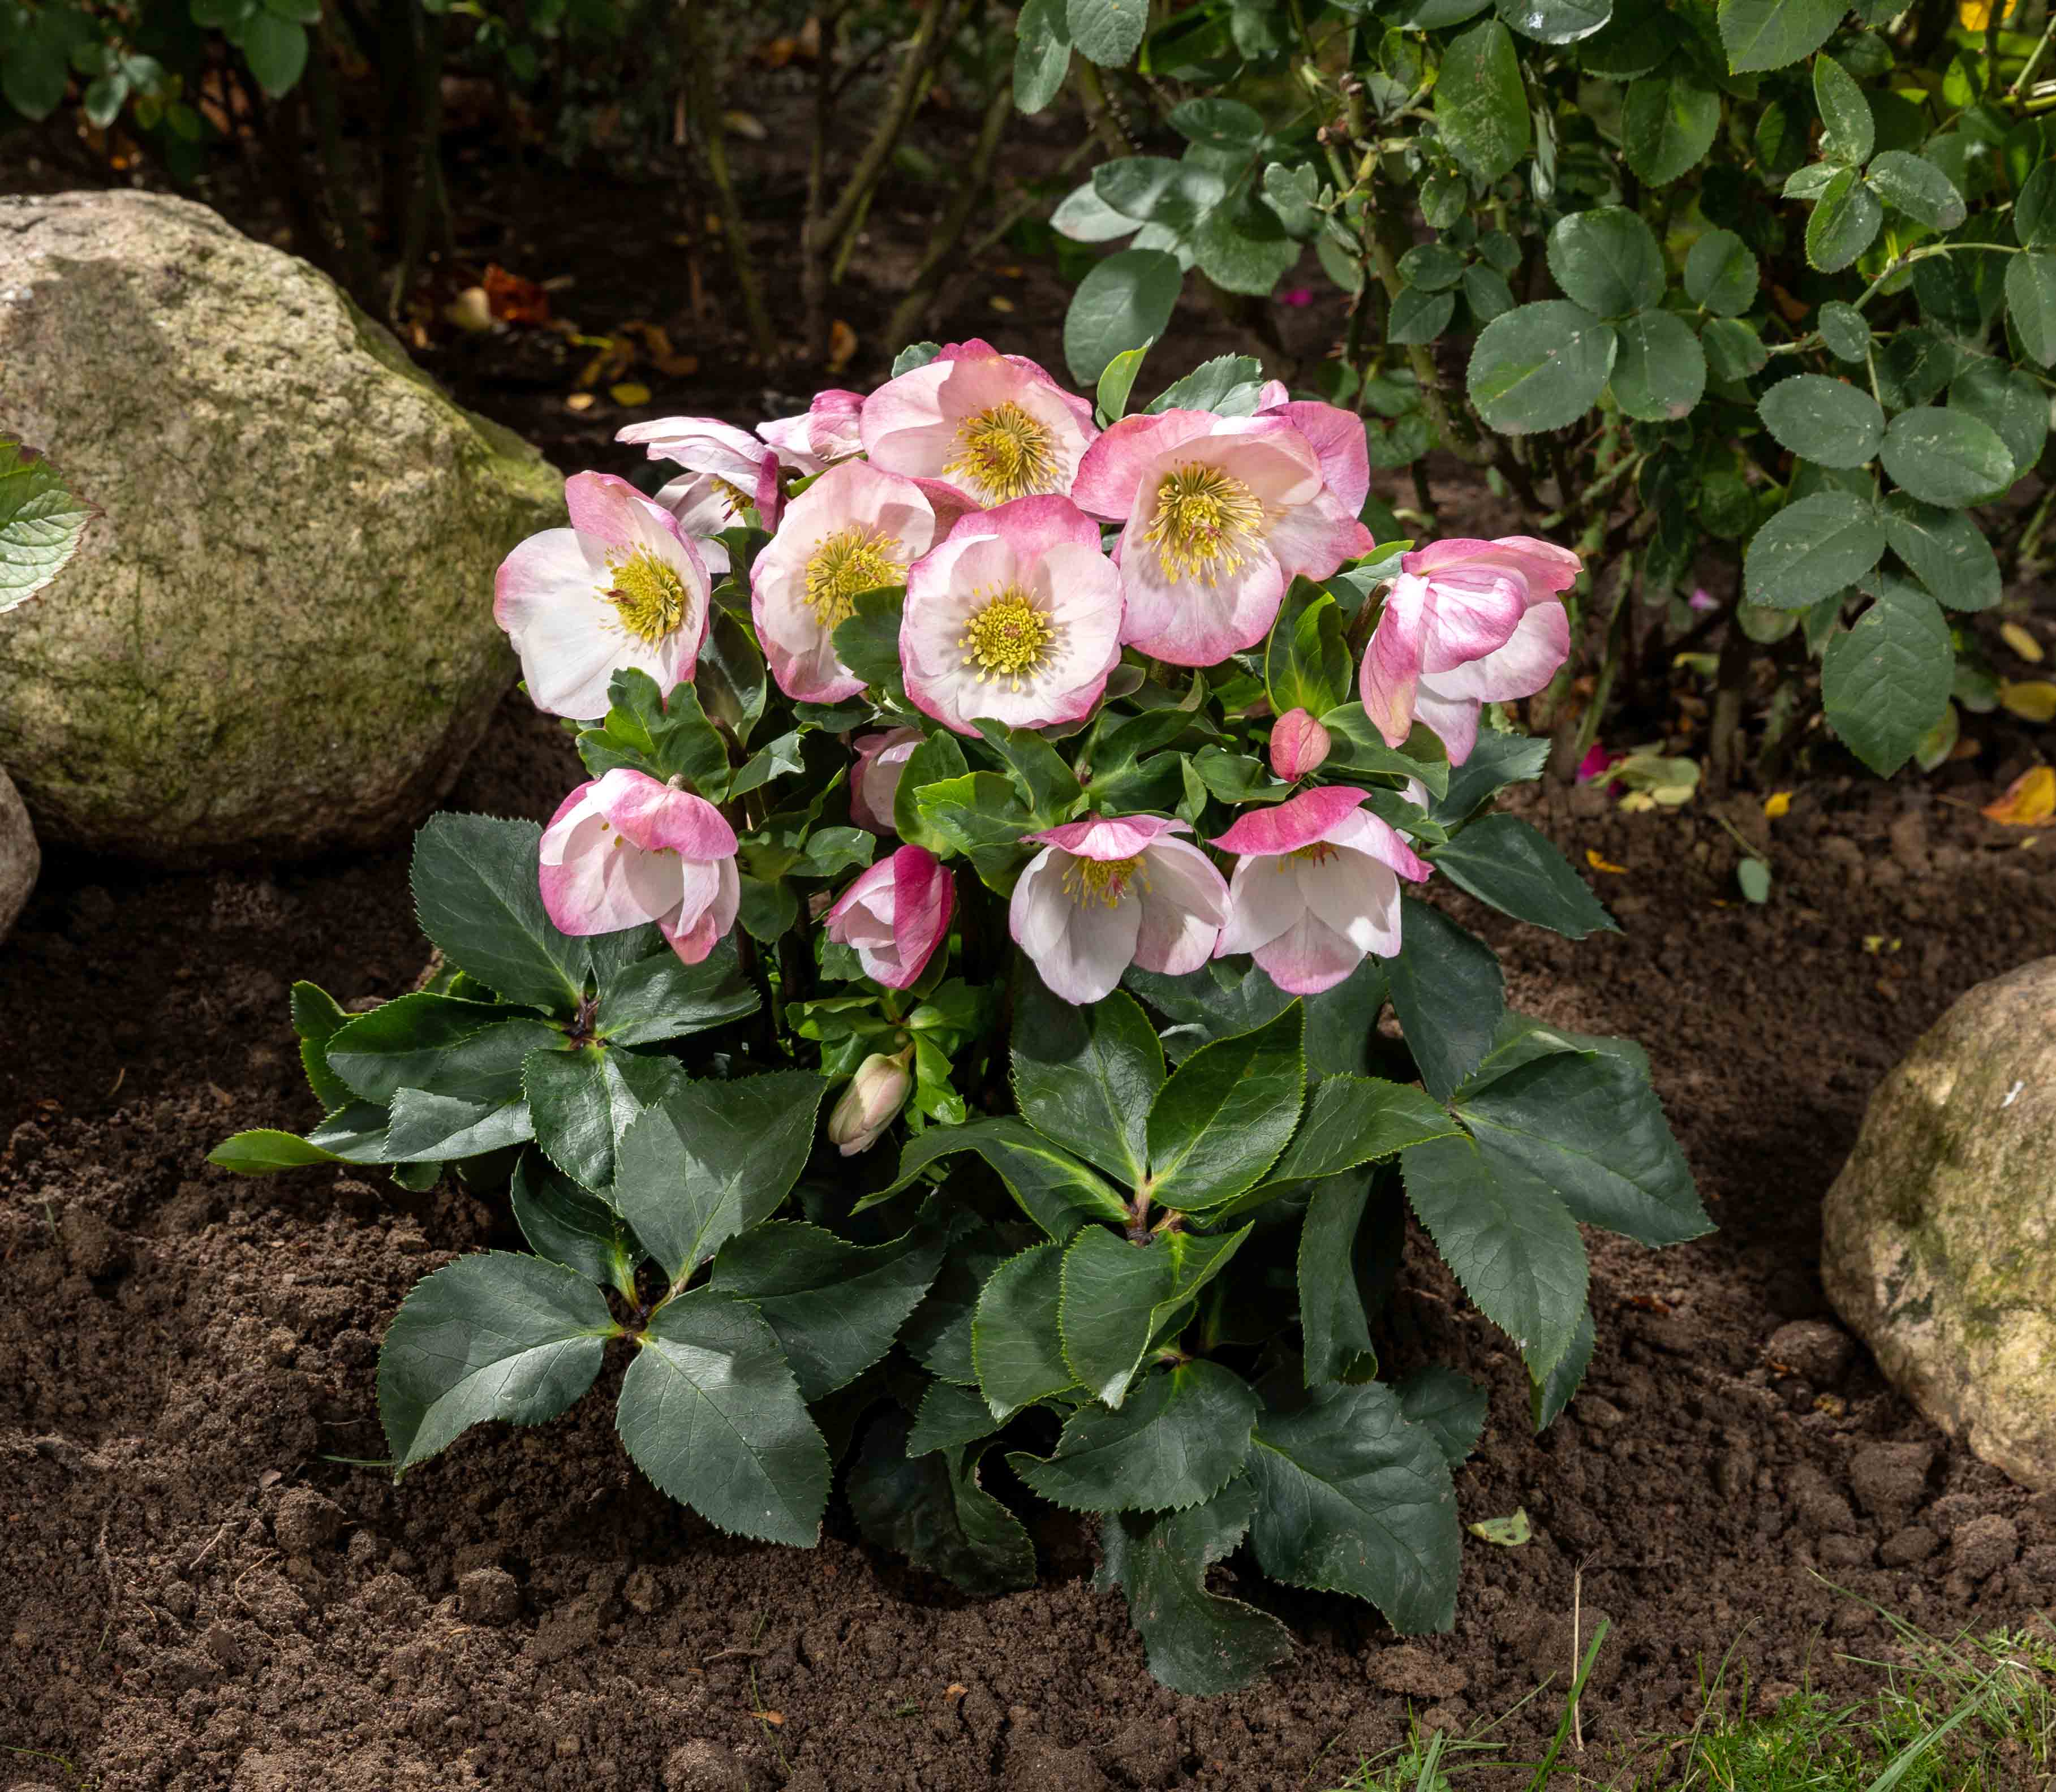
PLANTING WINTER BALLET VARIETIES PROPERLY

PLANTING WINTER BALLET VARIETIES PROPERLY

September through November is a good time to plant Winter Ballet varieties when the ground is not frozen.

To plant Winter Ballet varieties properly, you want to look for a suitable place in the garden first. Just like Christmas Roses and Lenten Roses, Winter Ballet varieties prefer a spot in light shade.

The planting instructions provide you with a step-by-step guide on how to plant Winter Ballet varieties in the garden. Also, the Uses section offers instructions and ideas on how to plant planters for balconies and terraces and make decorative flower arrangements for the
STEP-BY-STEP PLANTING GUIDE

Planting distance

Winter Ballet varieties require a planting distance of approximately 40-50 cm in bedding.

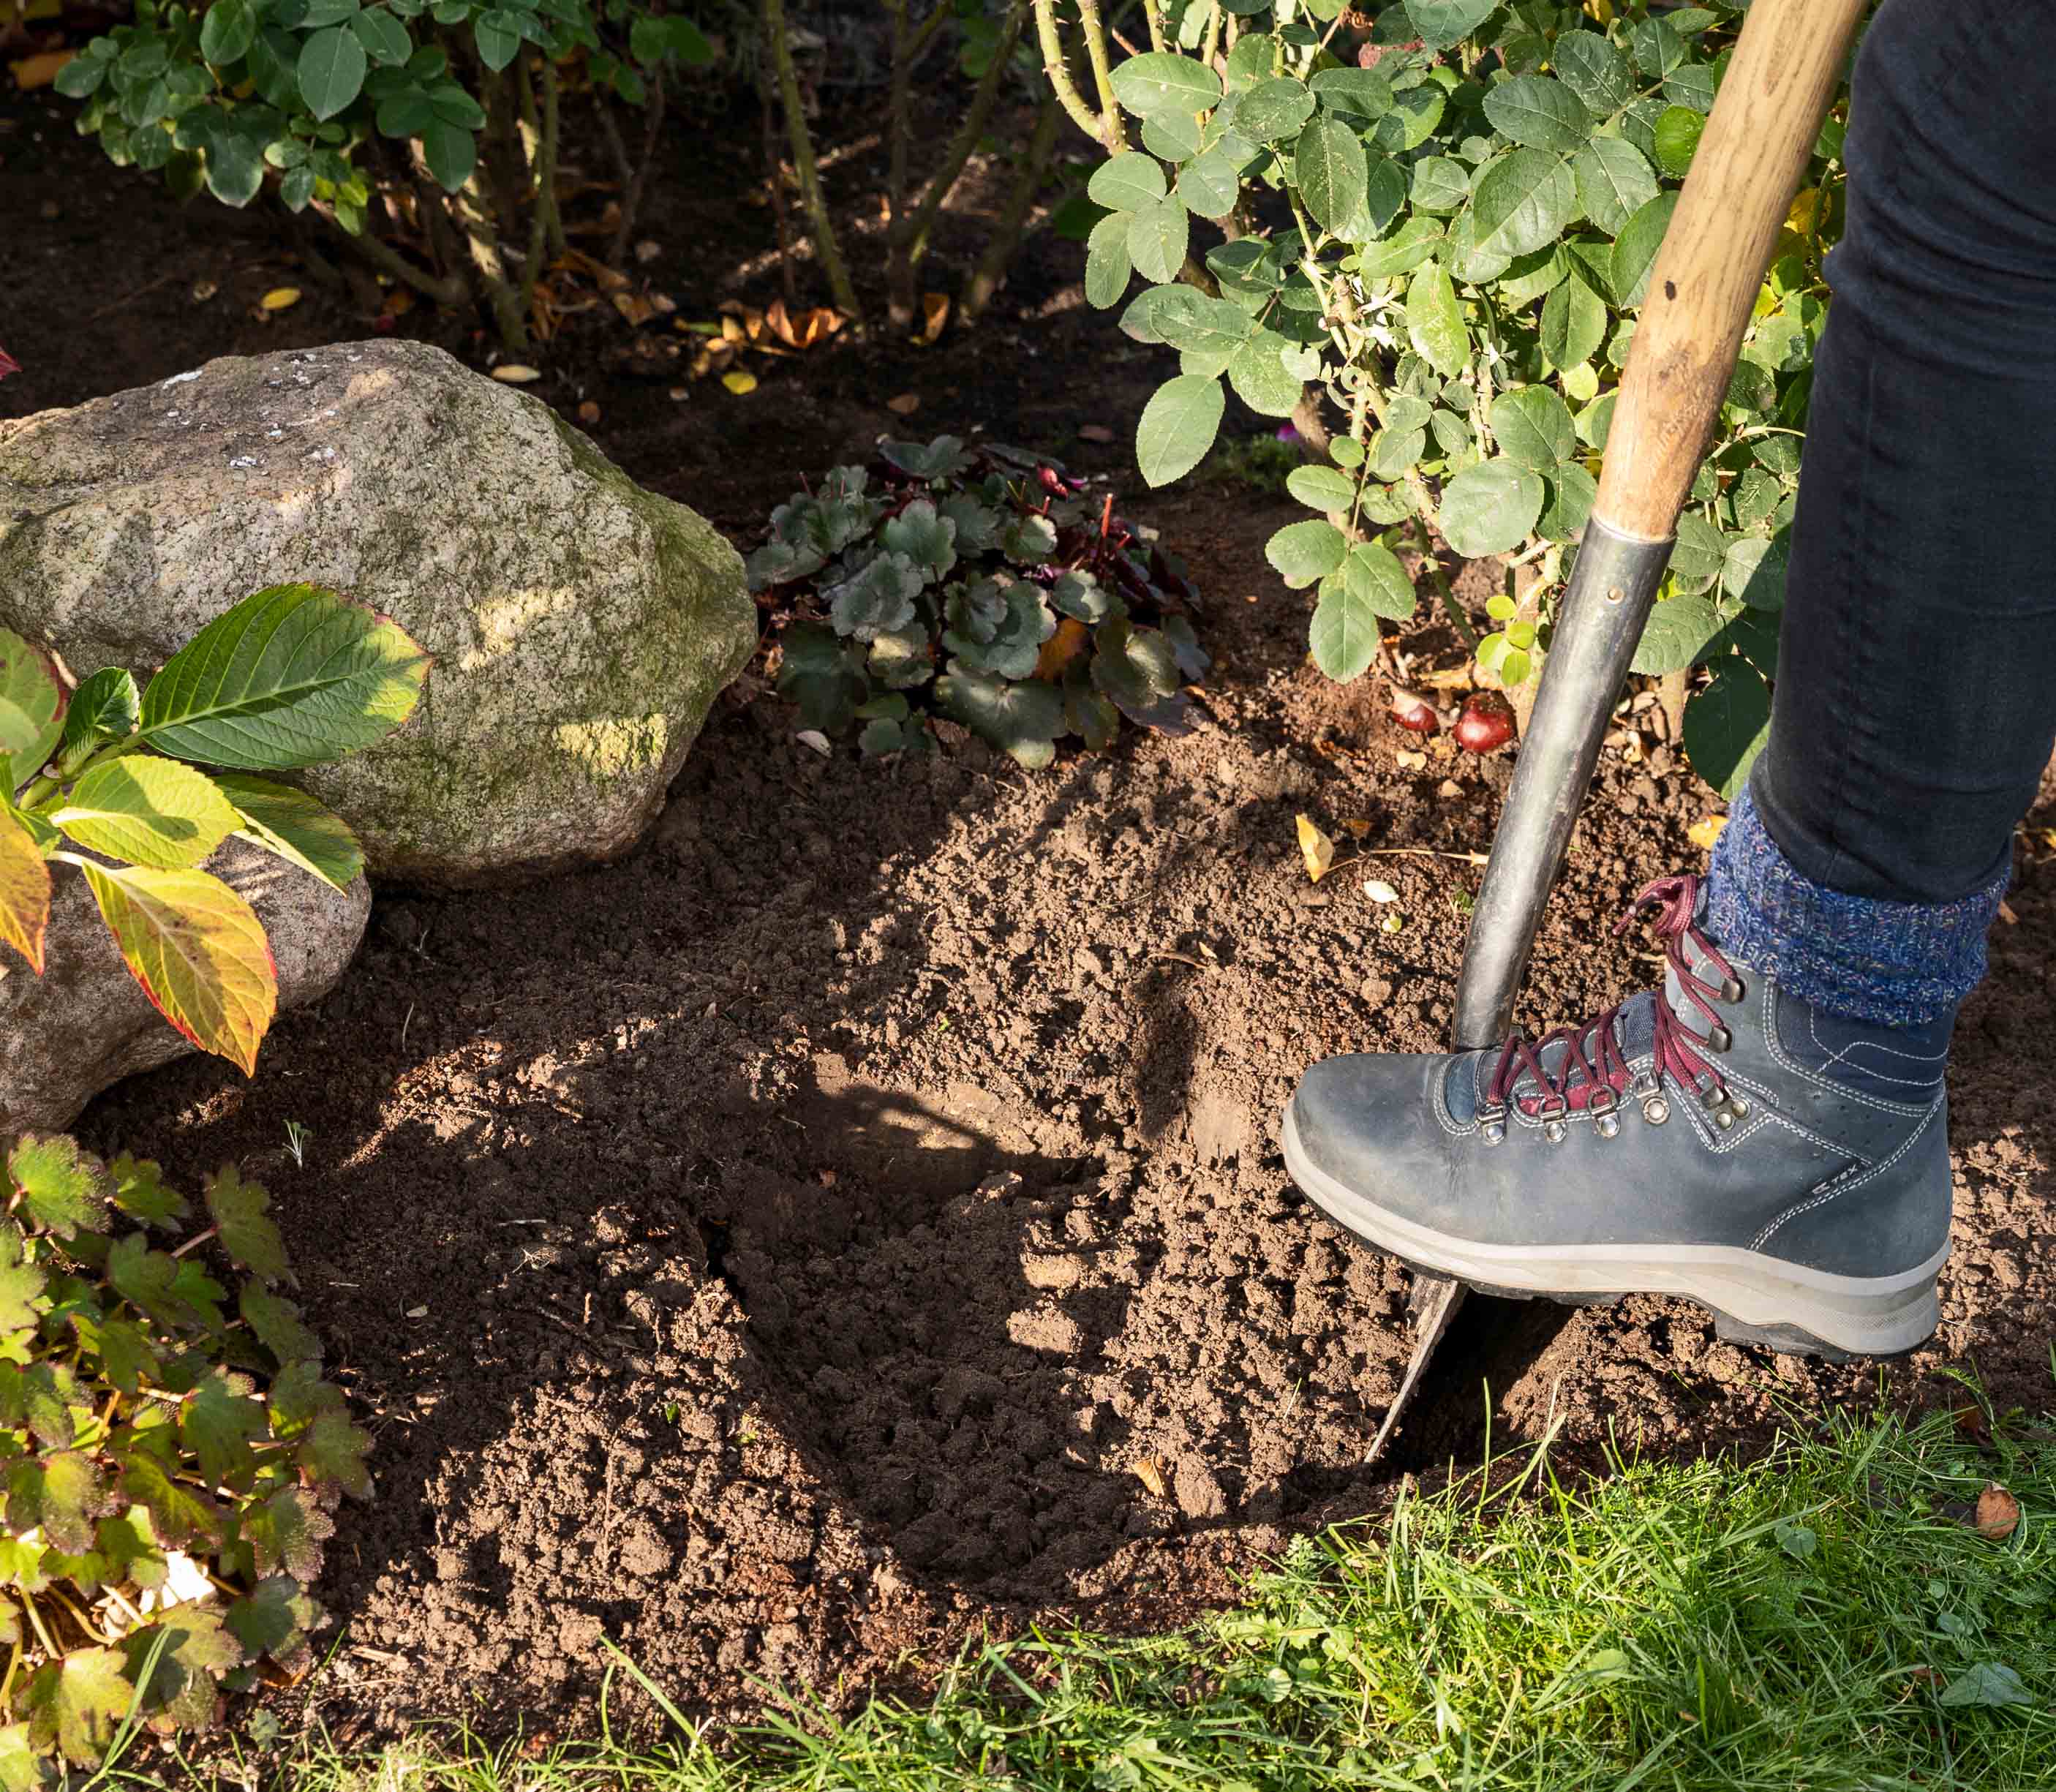
STEP 1

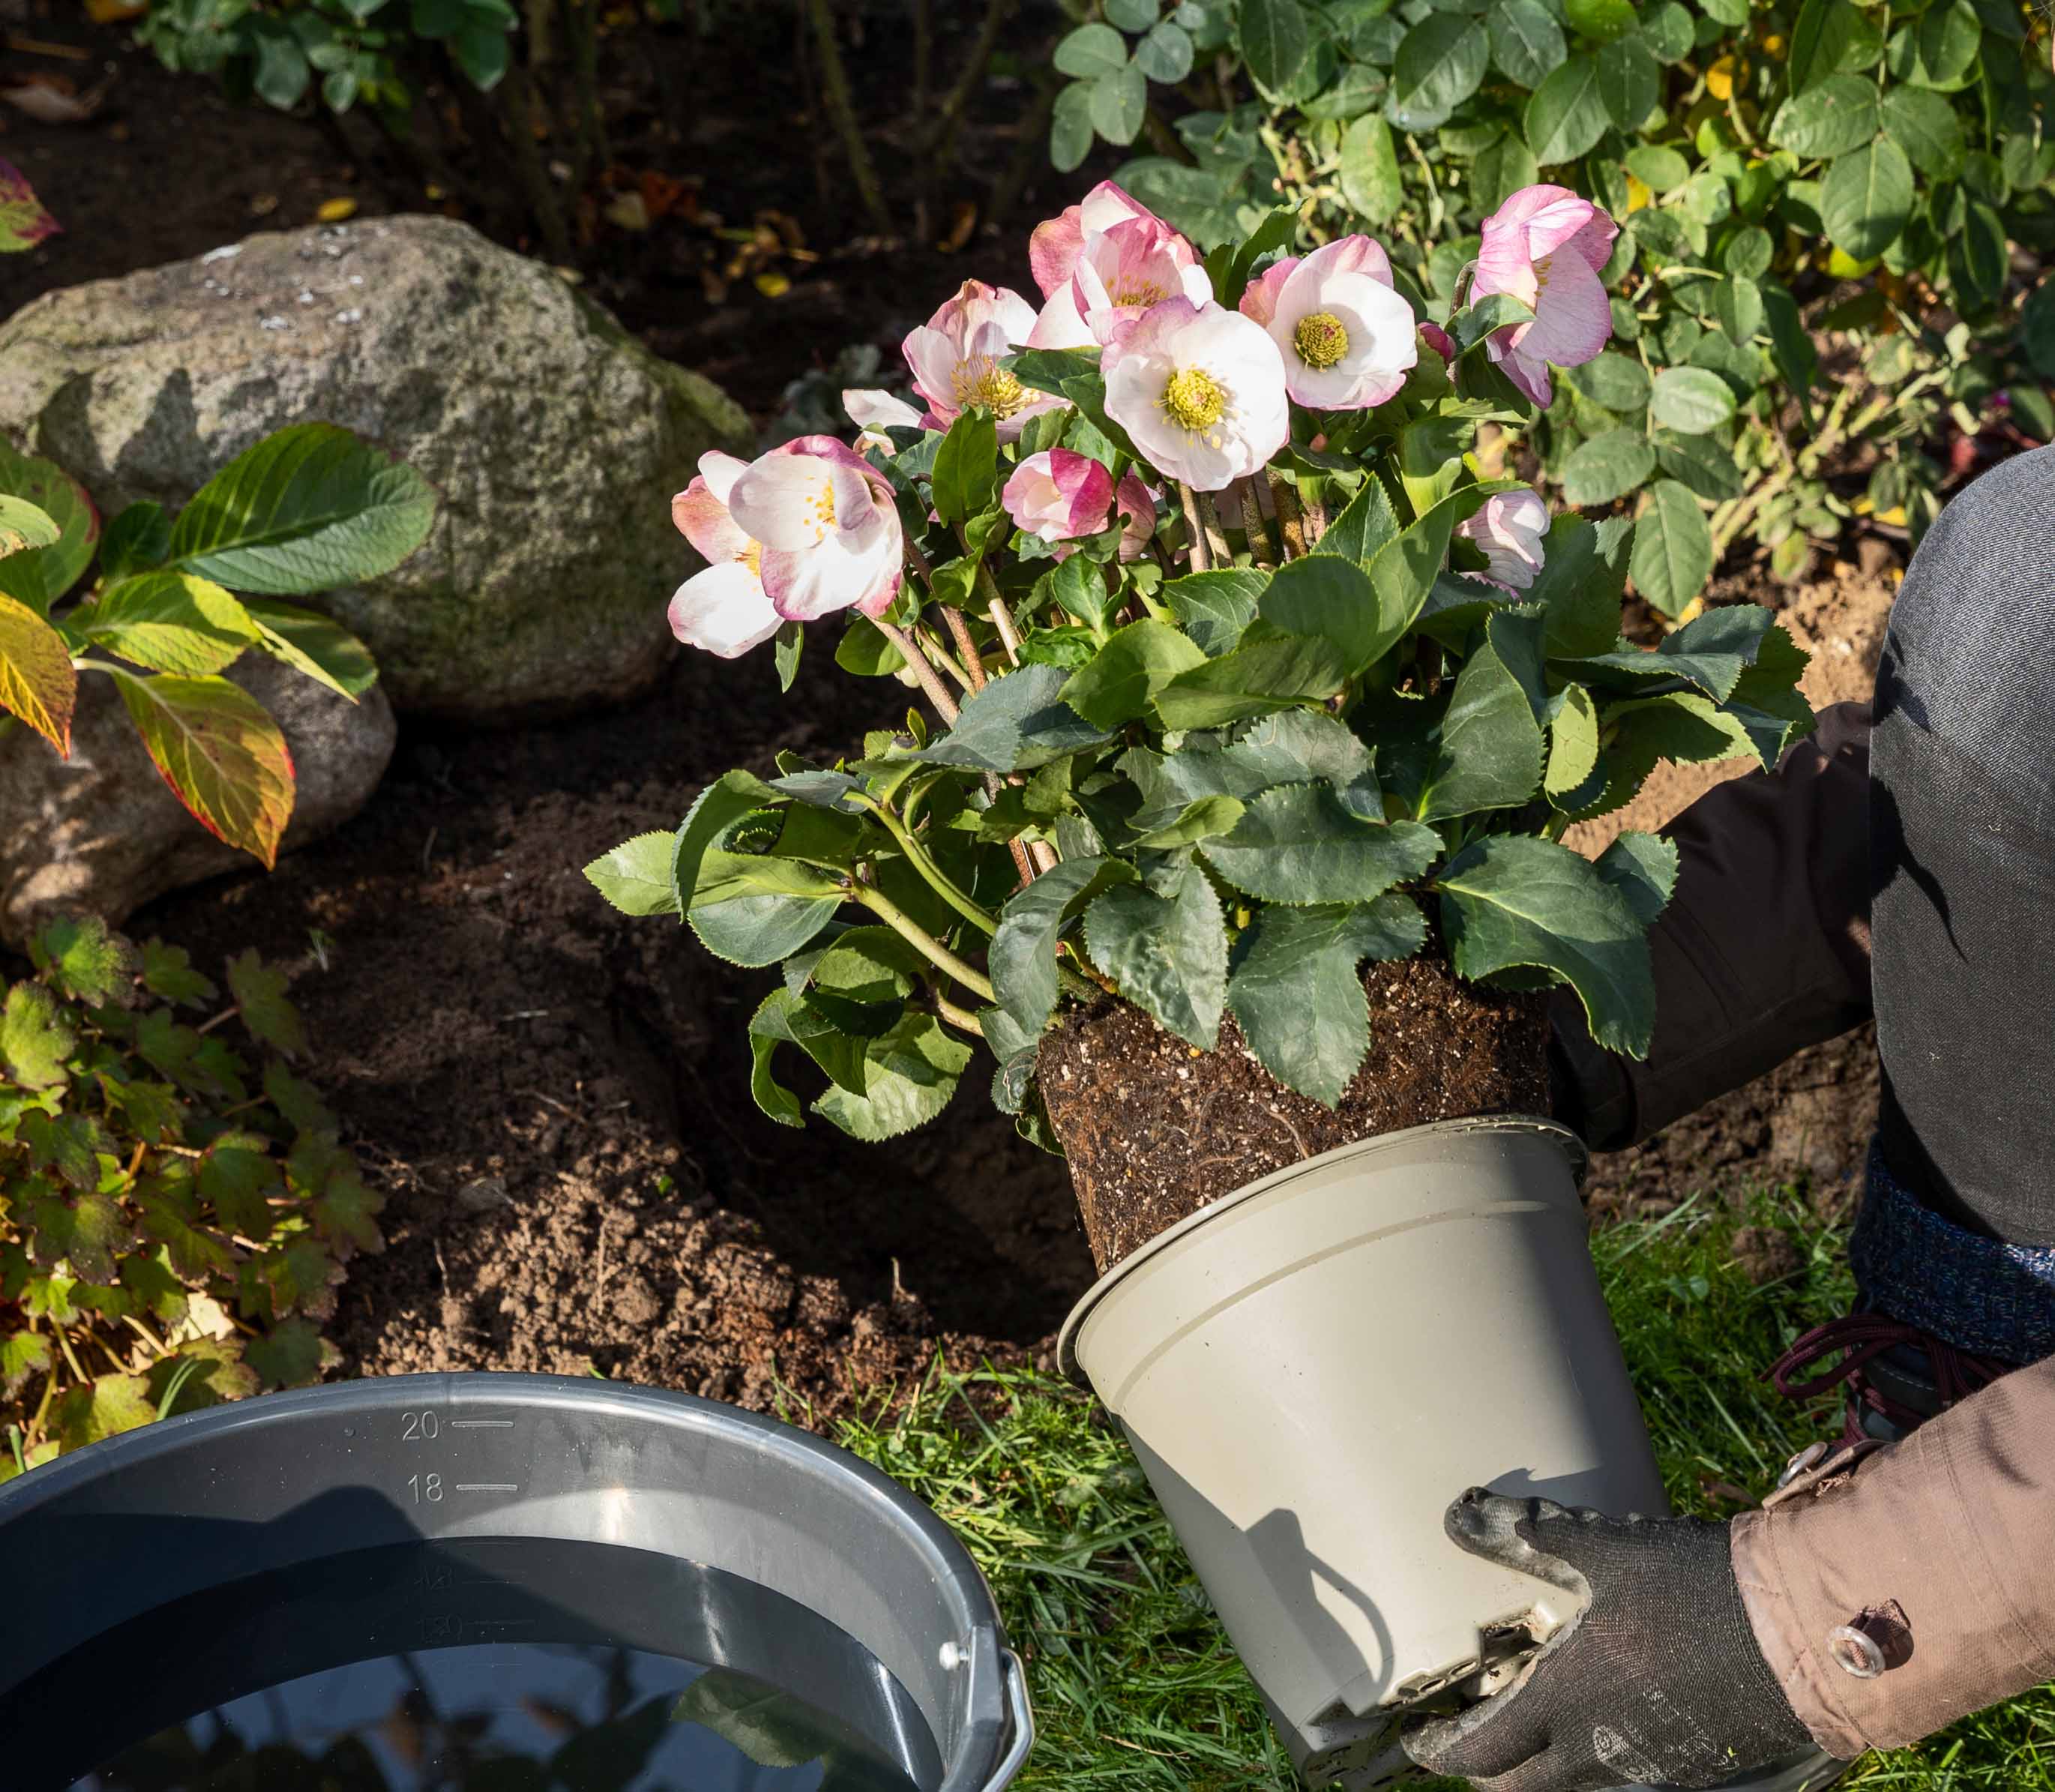
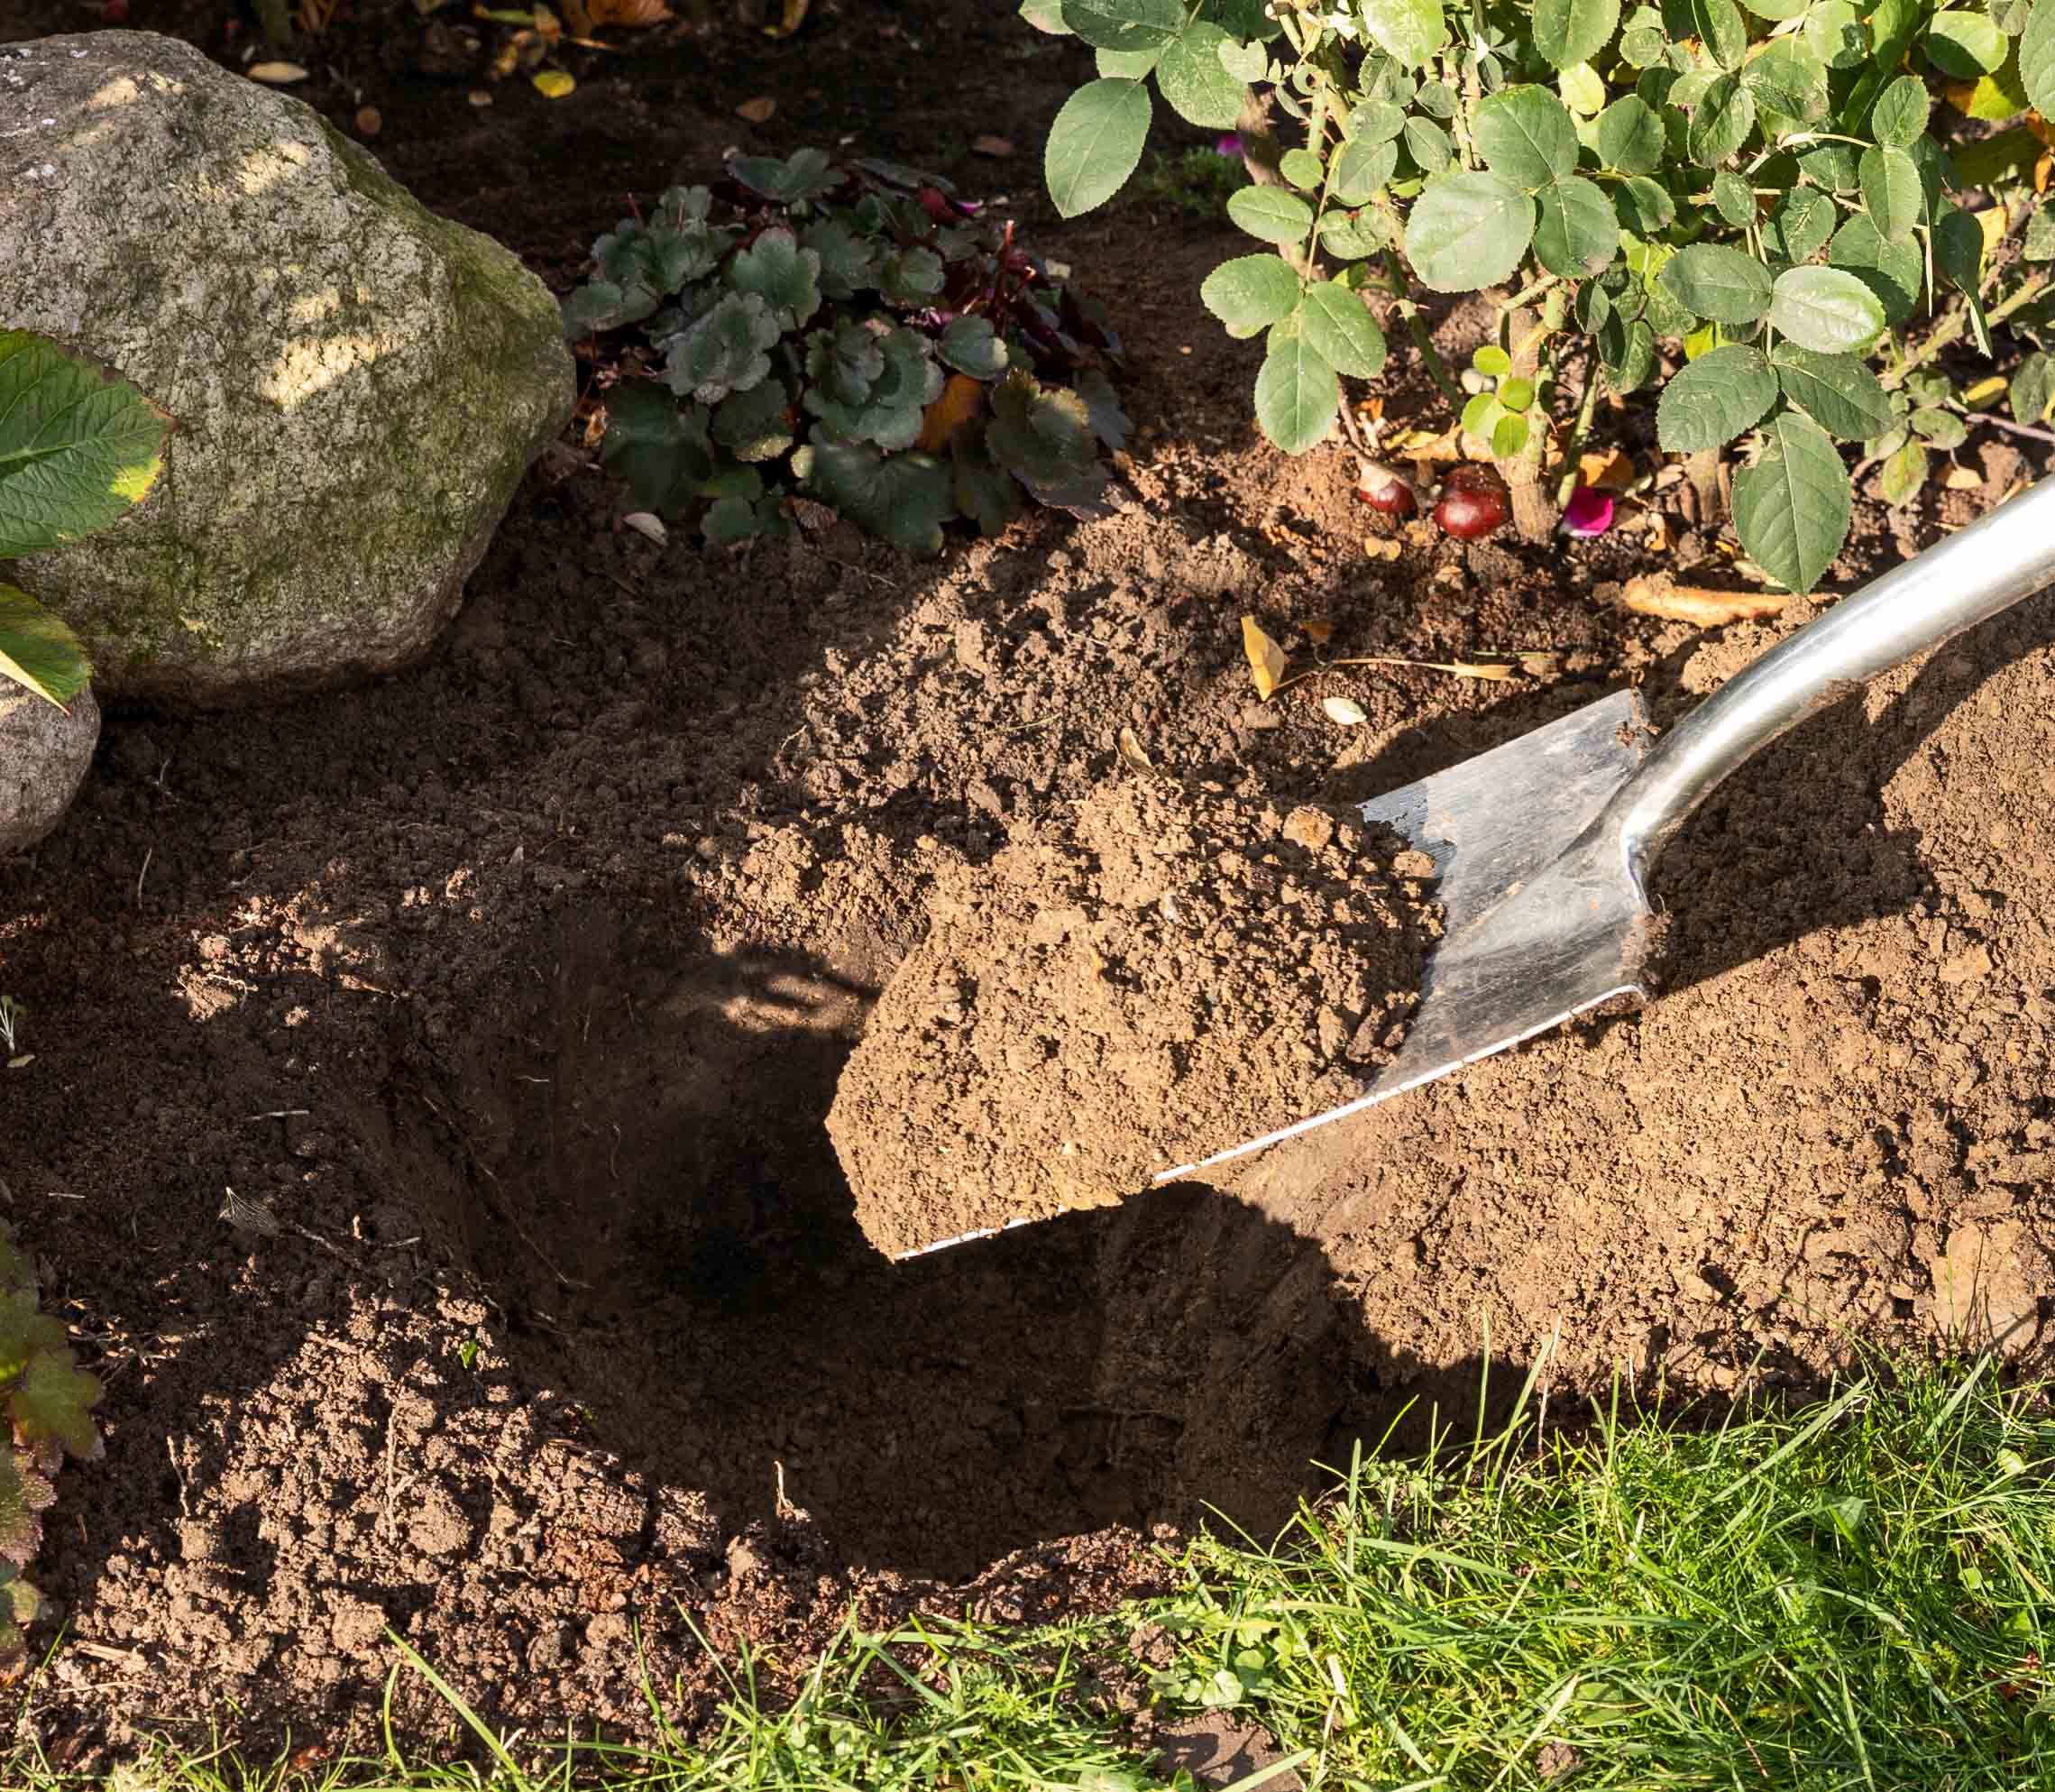
Have the following tools handy: a bucket of water, a watering can full of water, a spade (as well as perhaps compost, horn shavings and eggshells to fertilise and improve the soil as needed). Dig a hole that is at least double the size of the root ball and loosen the soil at the bottom of the hole to a good depth.

Einen passenden Standort im lichten Schatten suchen. Ein Pflanzloch ausheben.

STEP 2

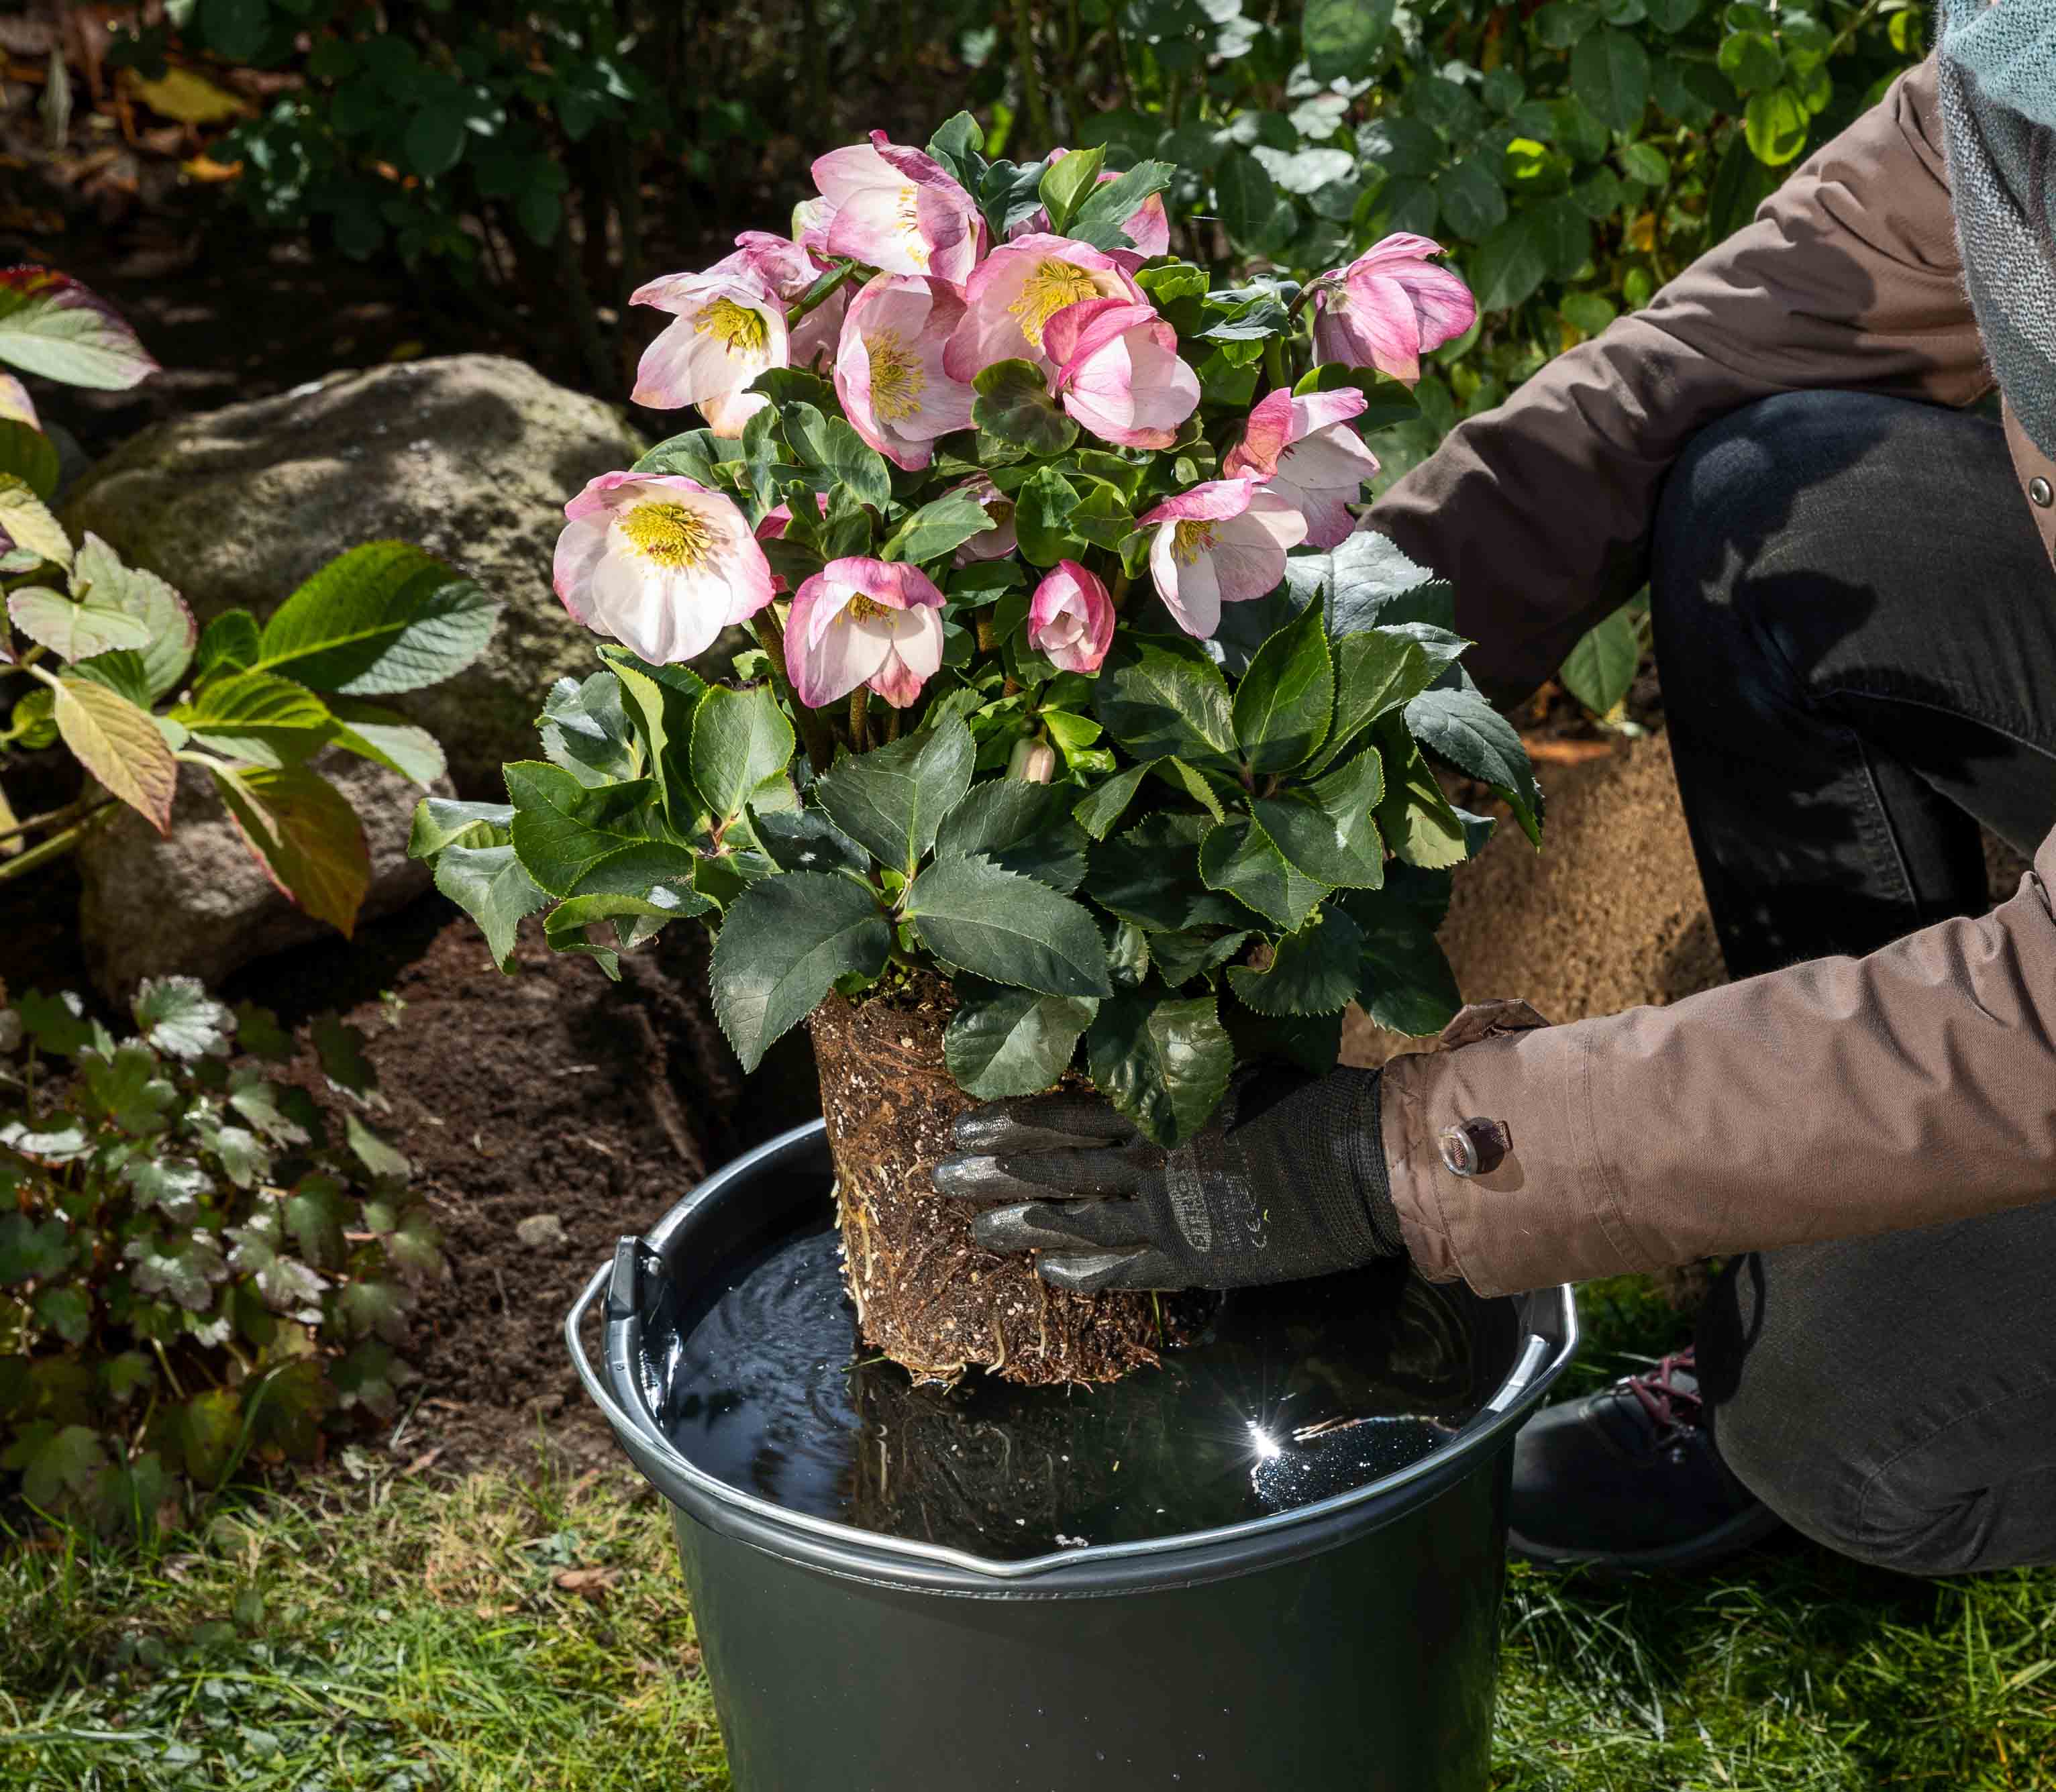
Remove the plant from its pot, immerse the root ball in a bucket of water until it is thoroughly moist, and the air bubbles stop rising to the surface.

Den Kulturtopf entfernen. Pflanze in den Wassereimer tauchen.

STEP 3

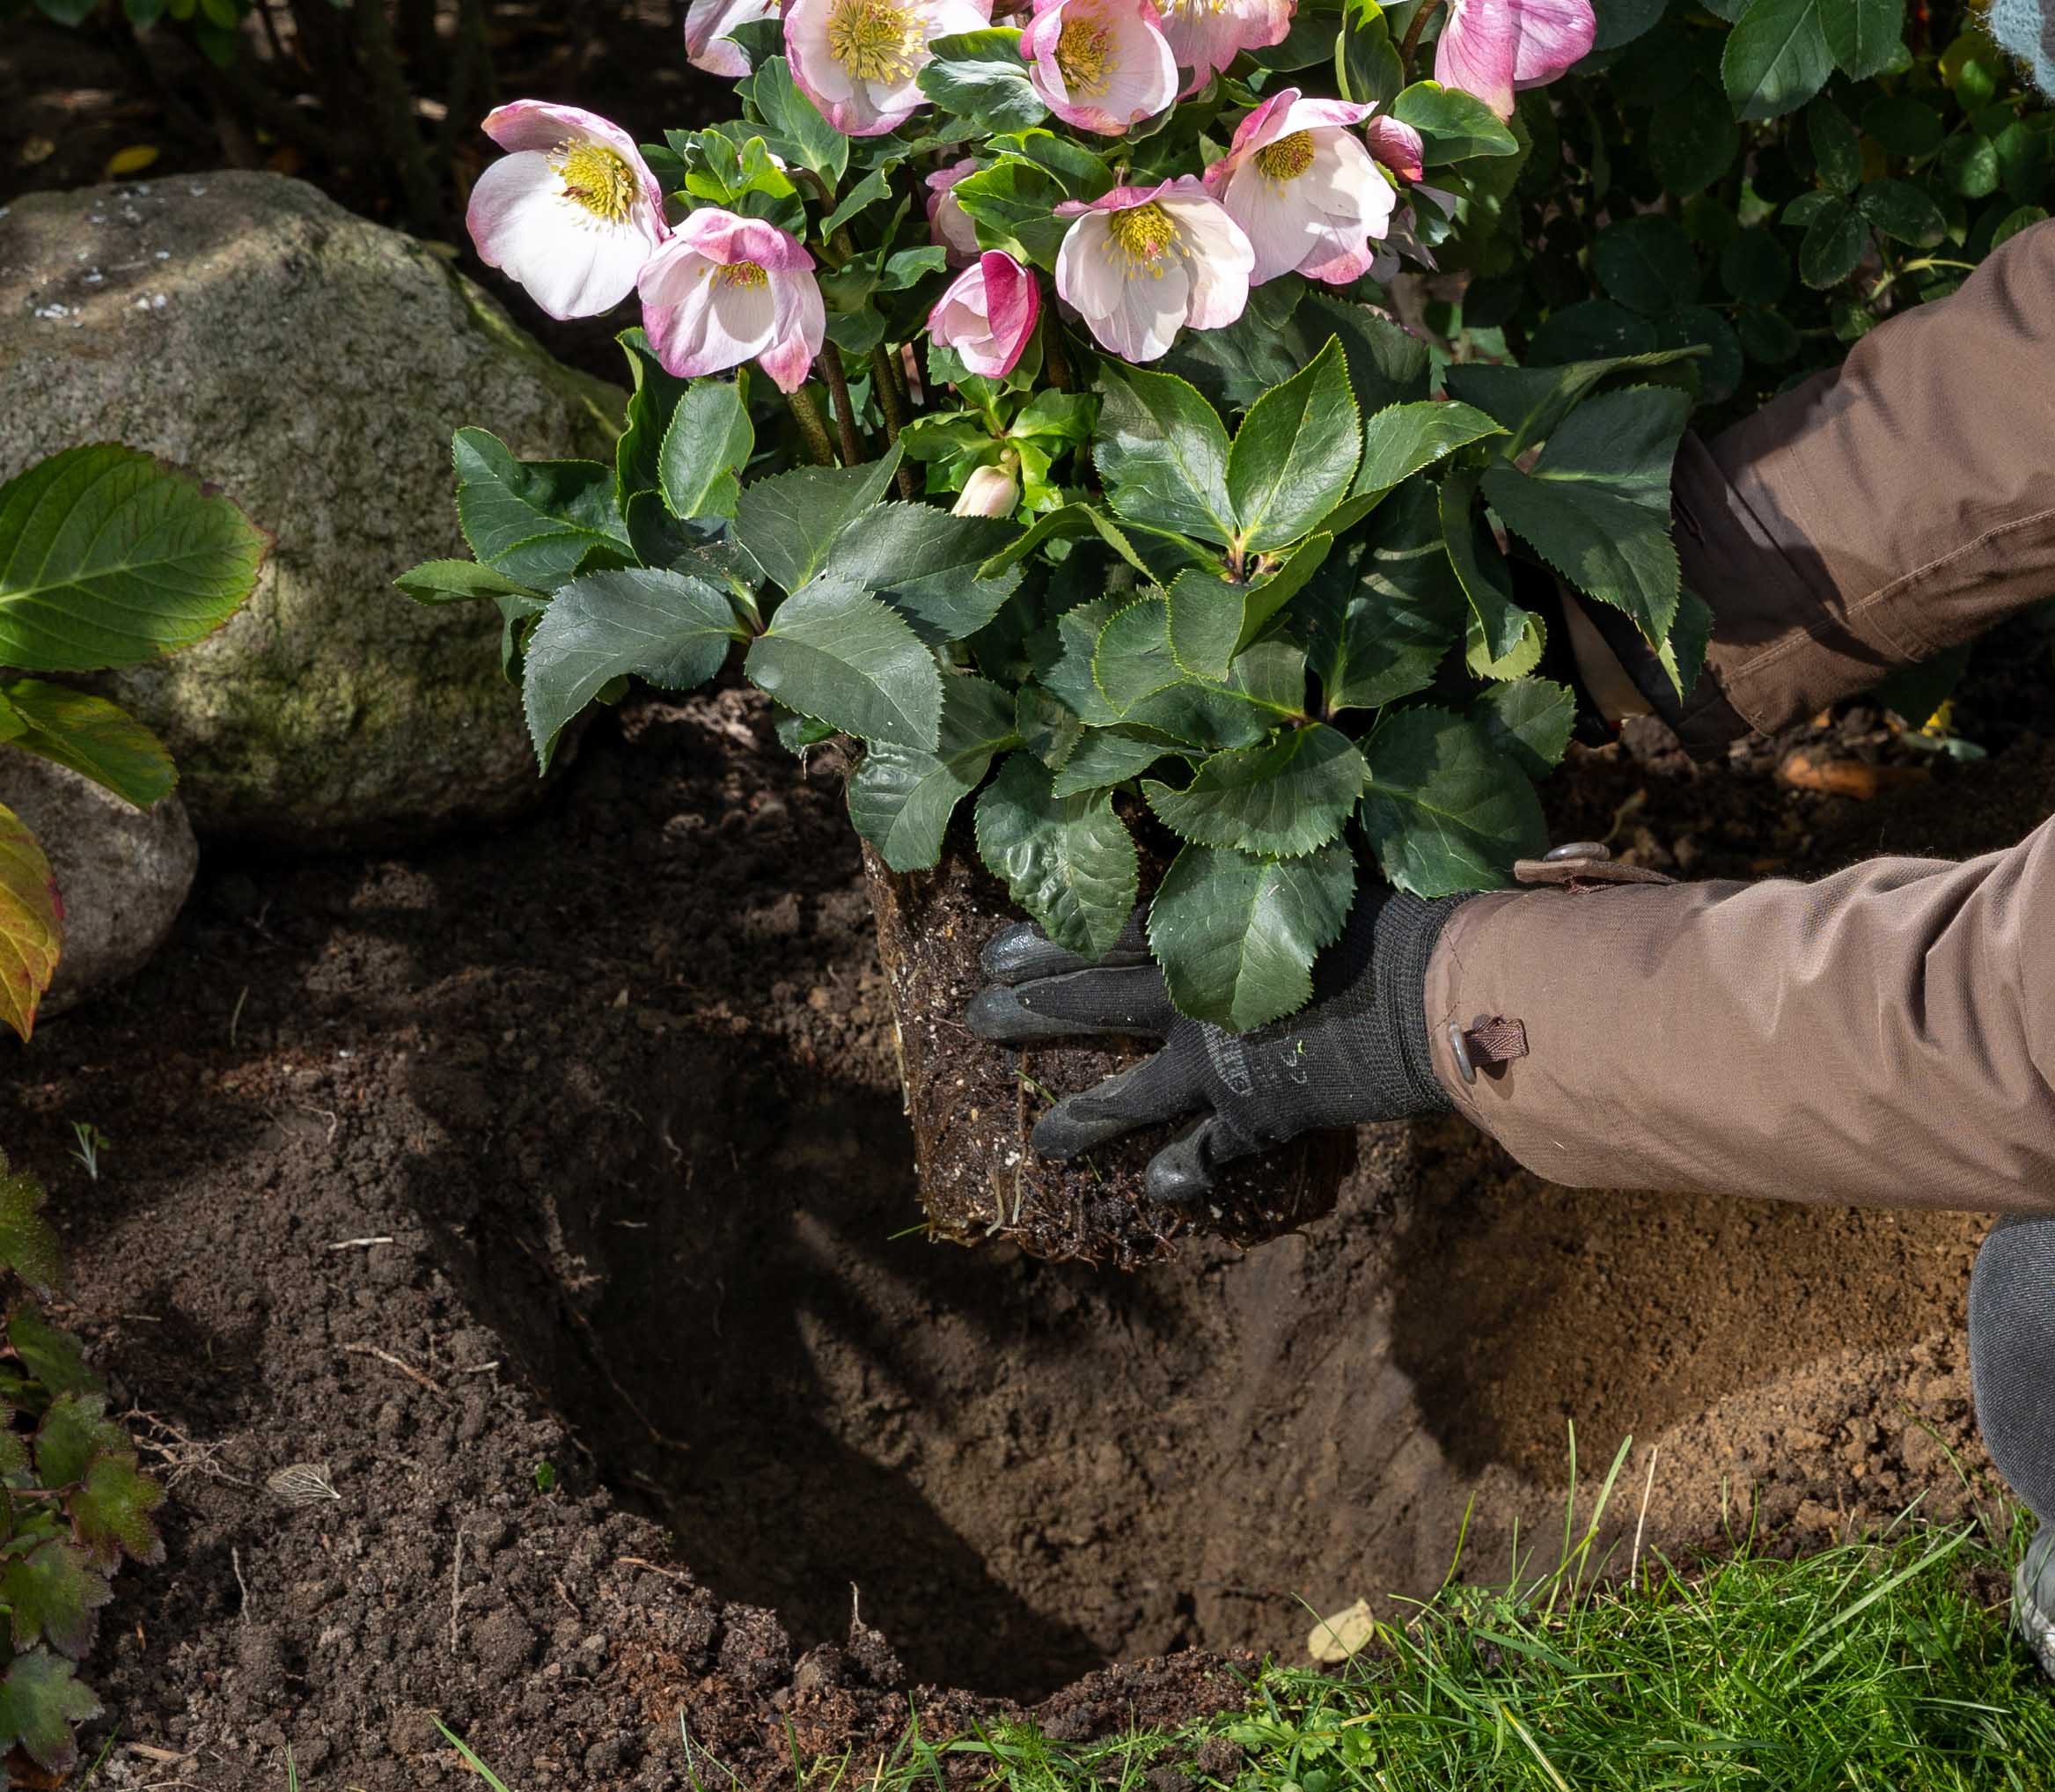
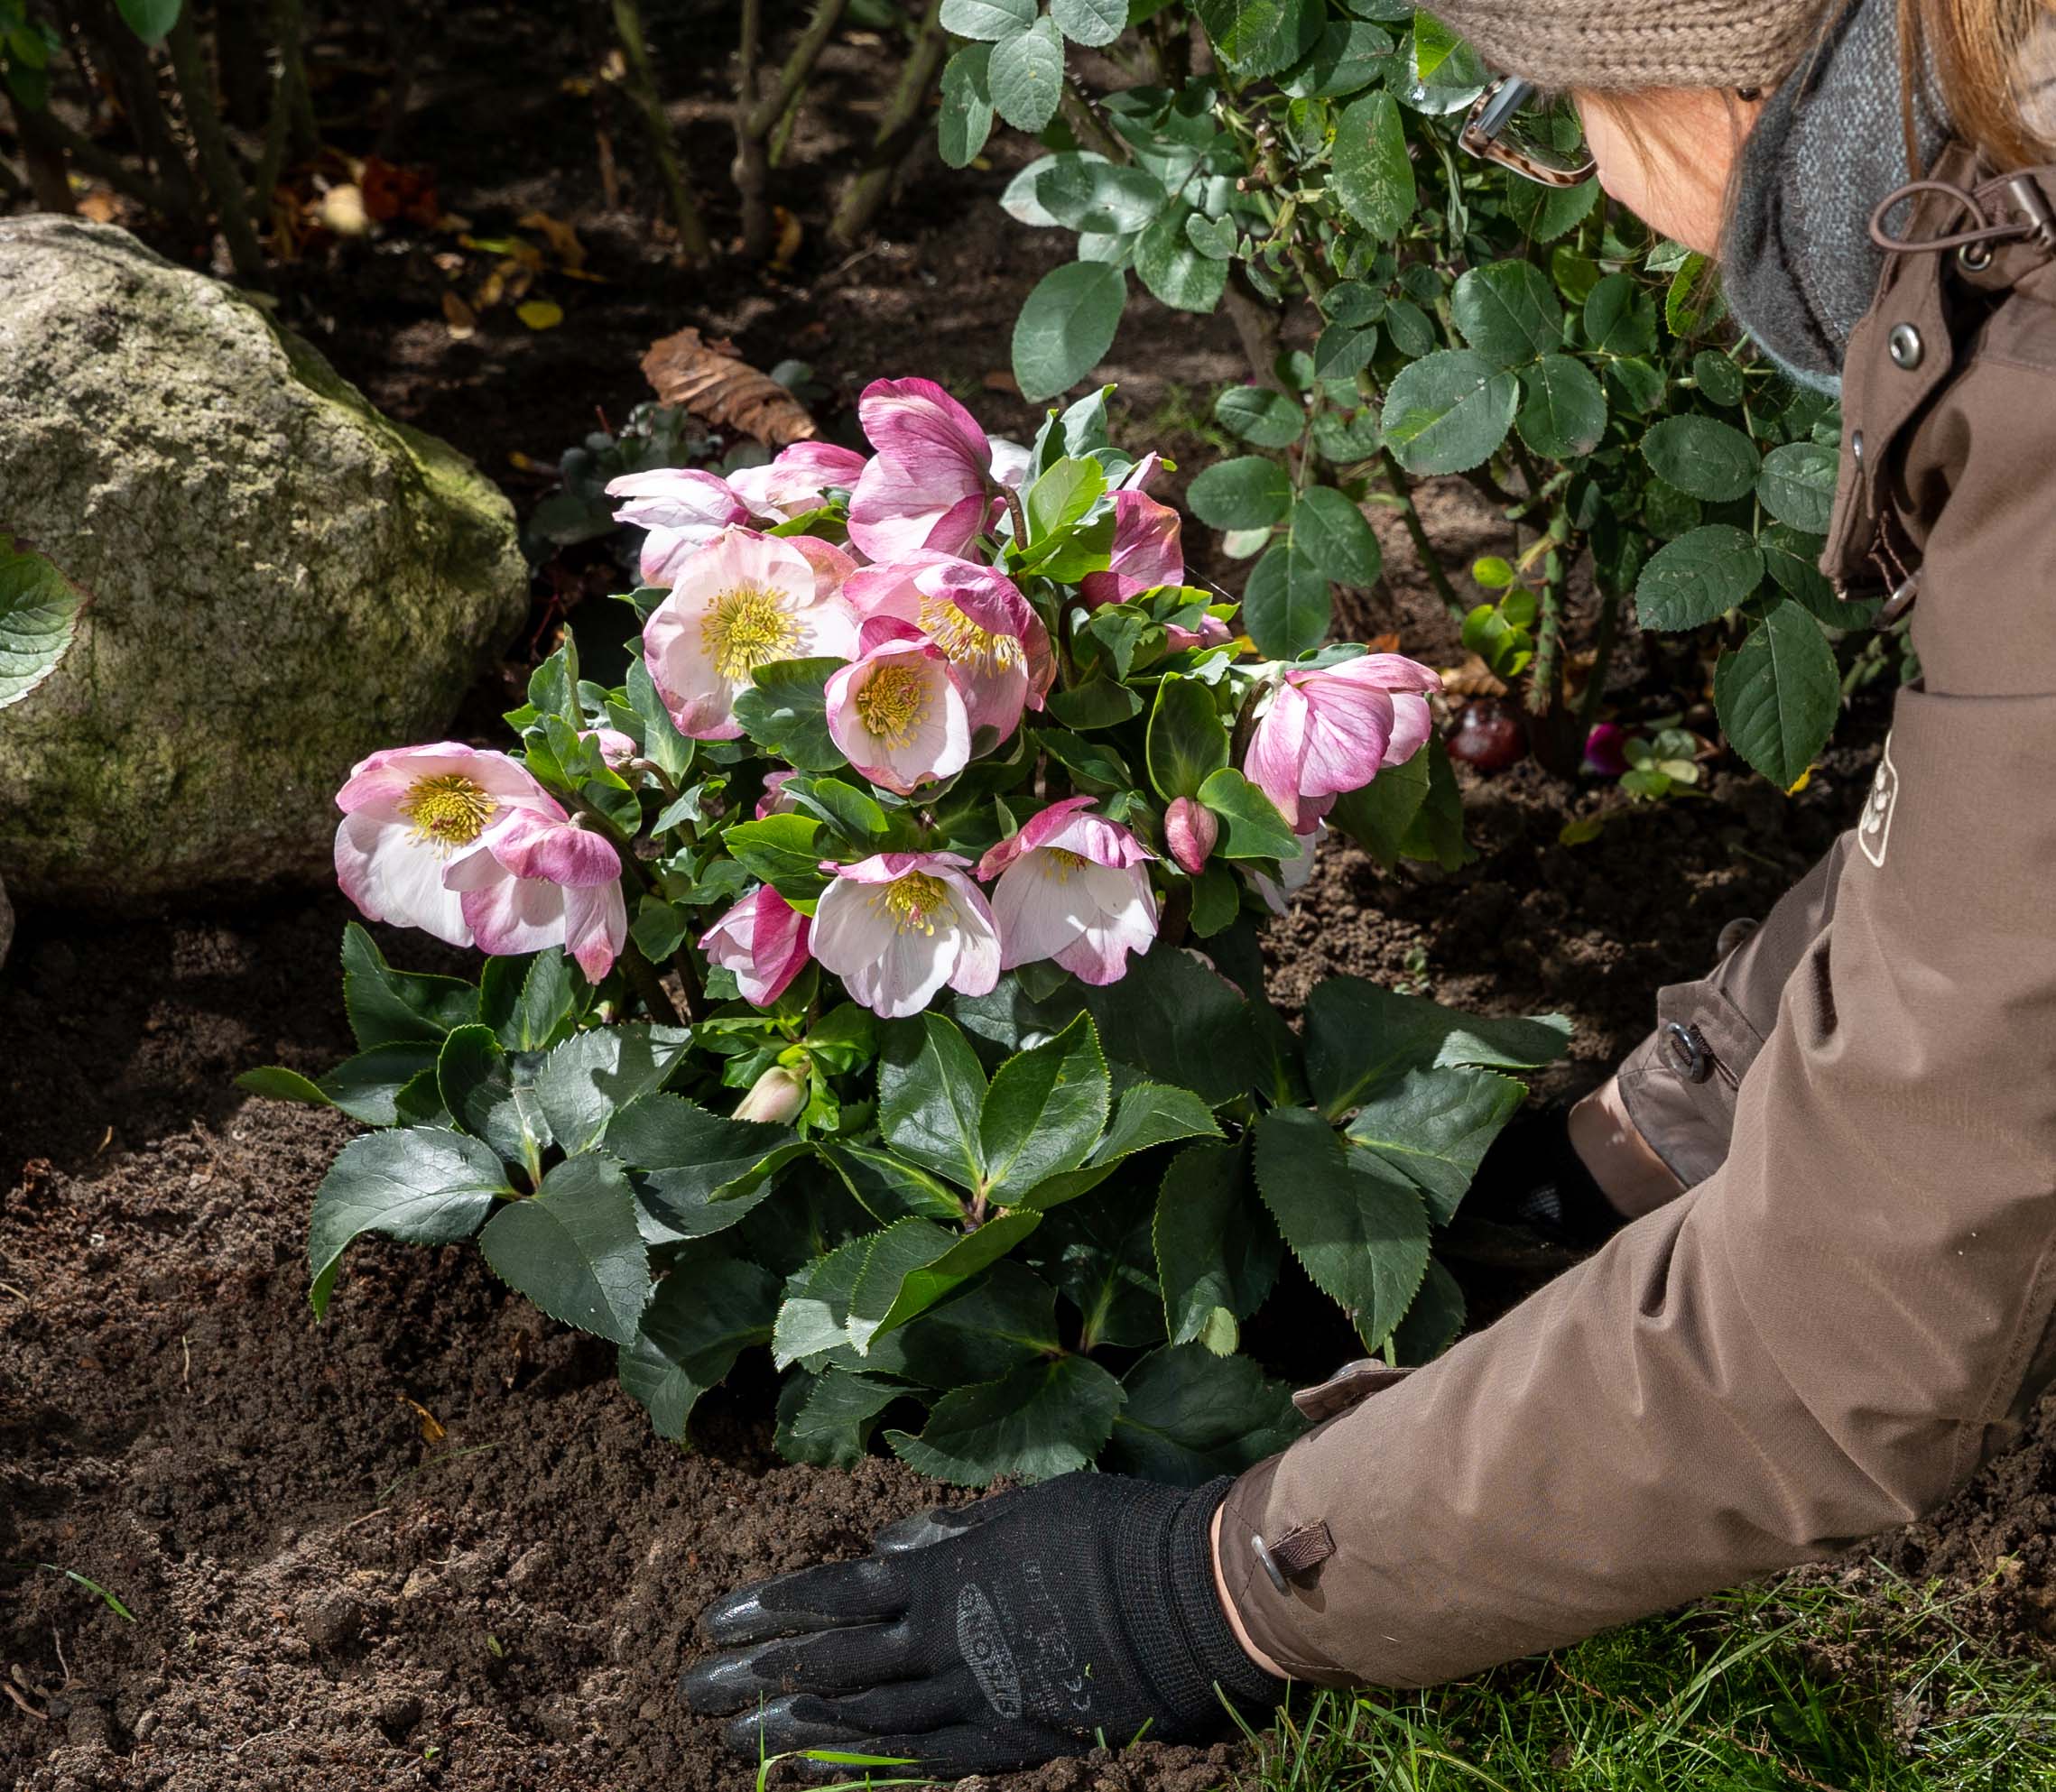
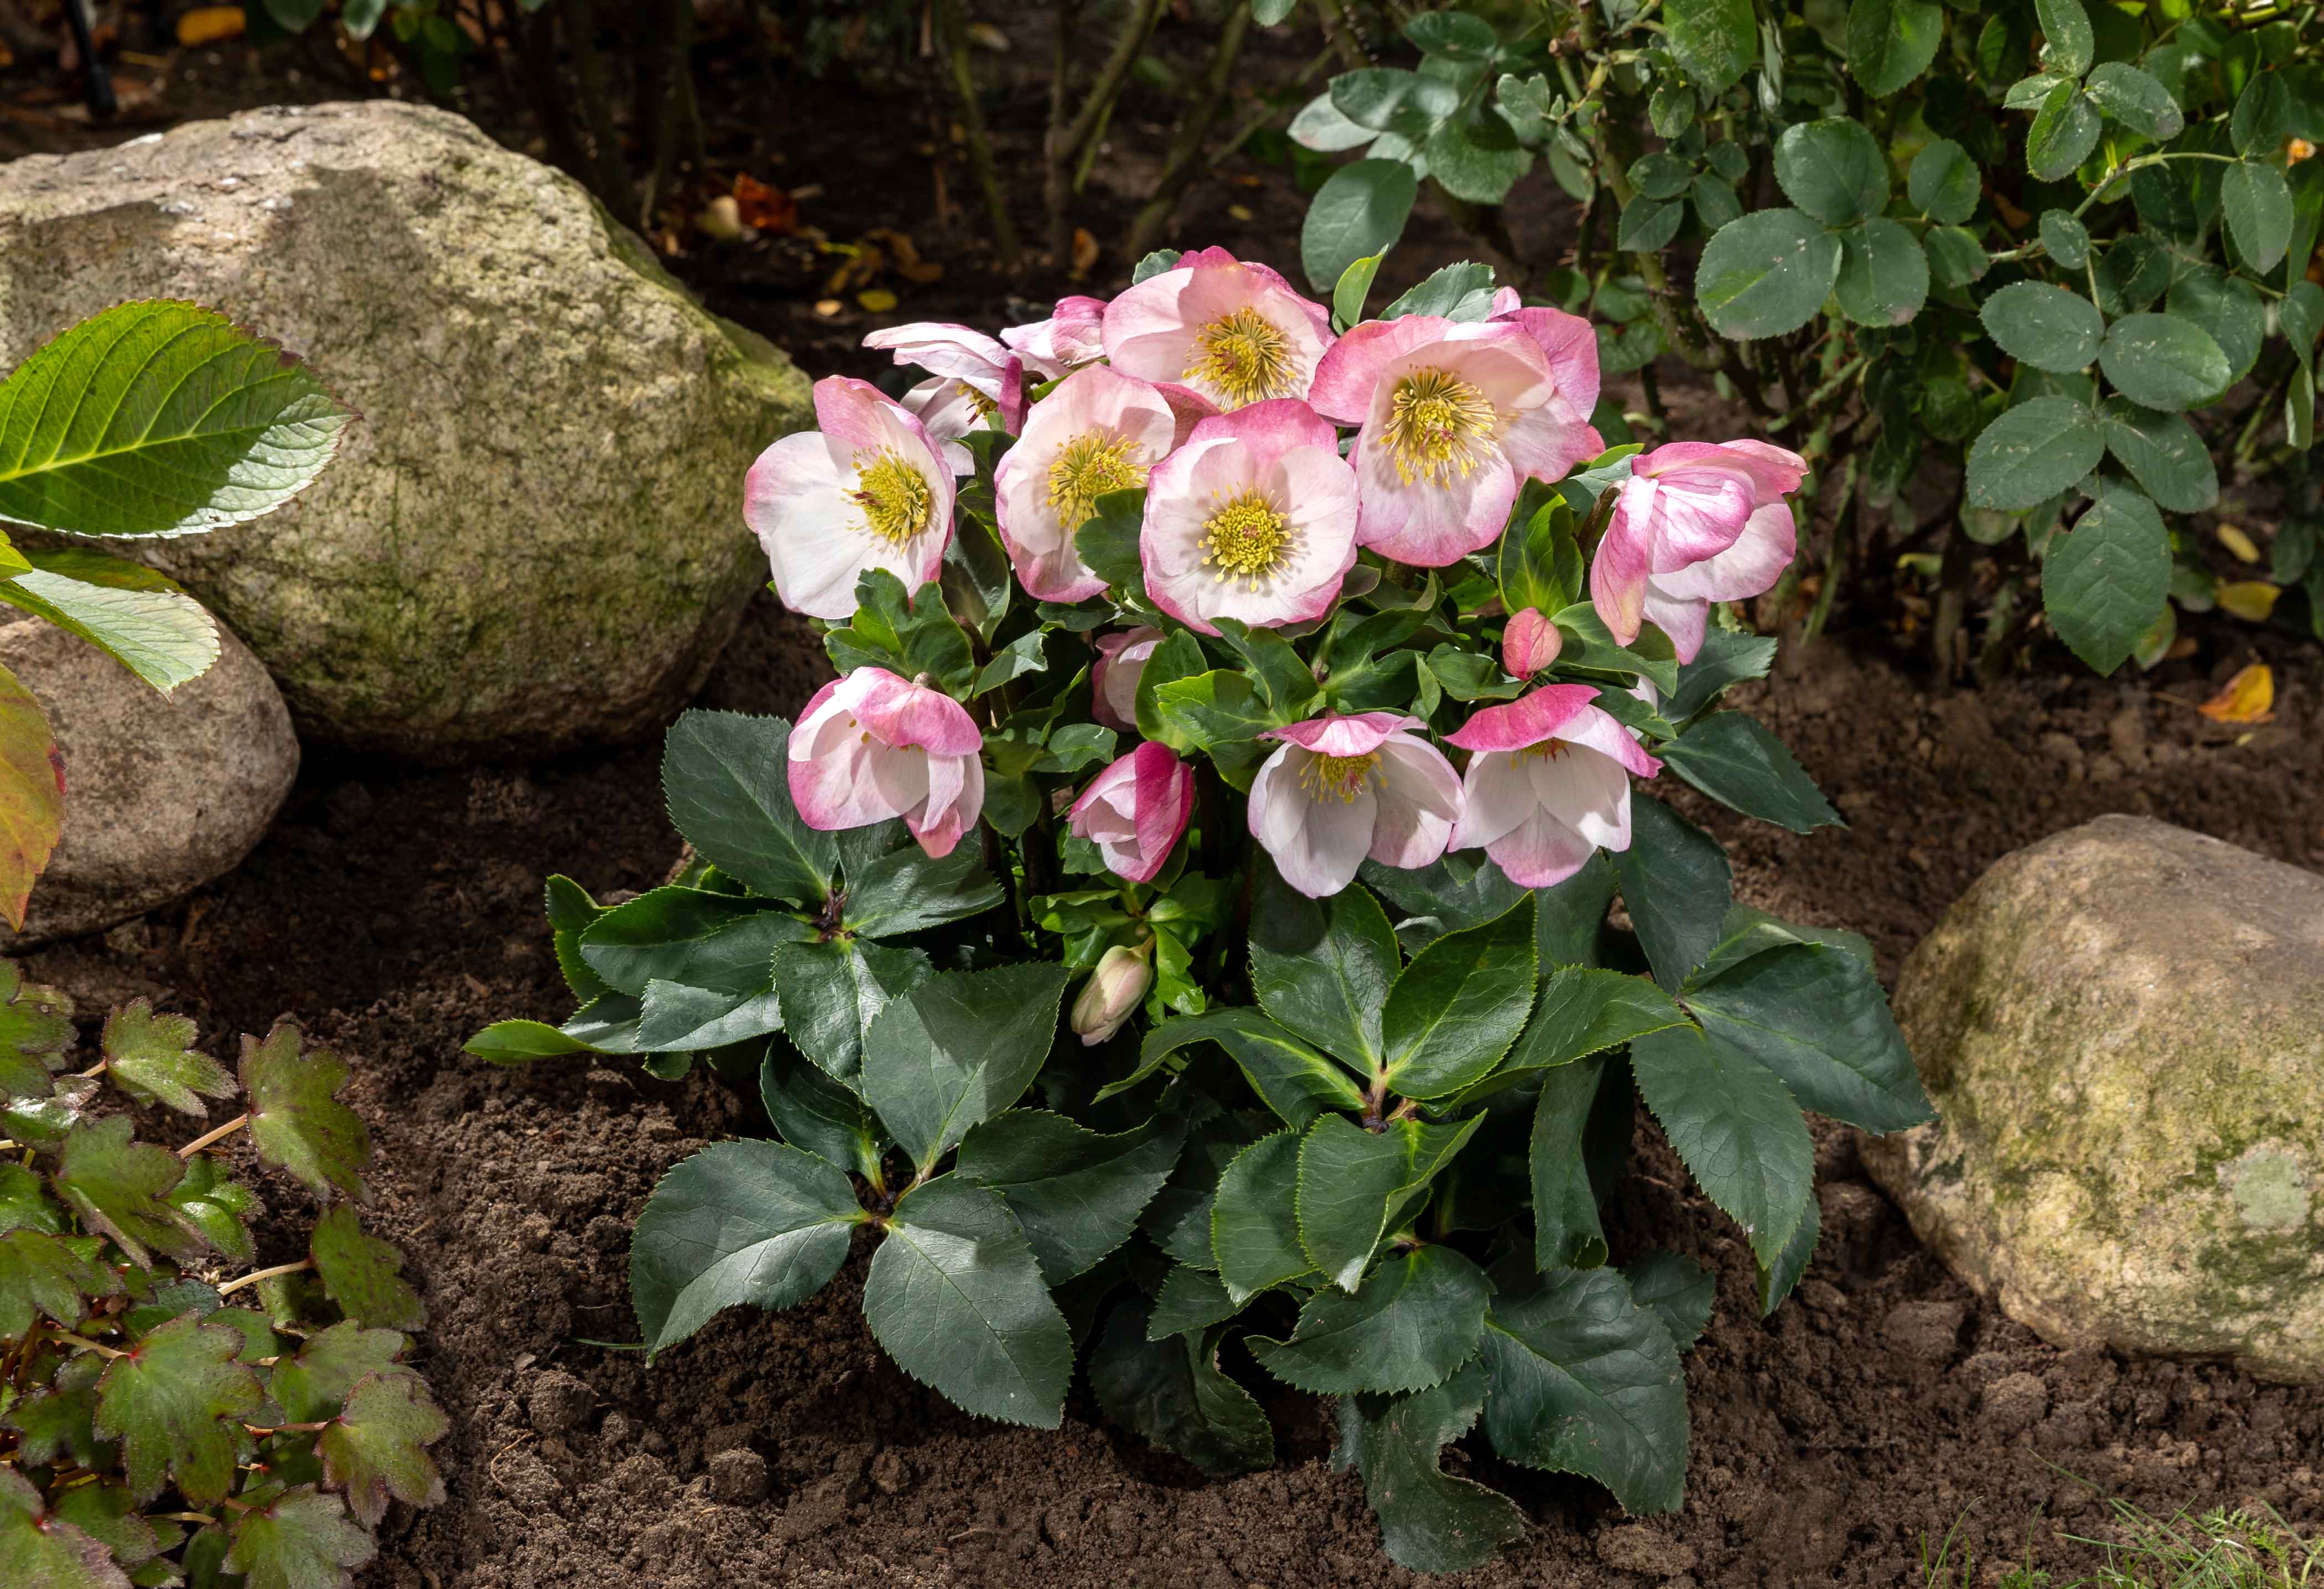
Plant the Winter Ballet variety so deeply that the top of the root ball is lightly covered with soil and use your hands to form a small circular ridge around the plant for improved water retention.

Pflanze in das Pflanzloch setzen. Die Zwischenräume mit Erde füllen.

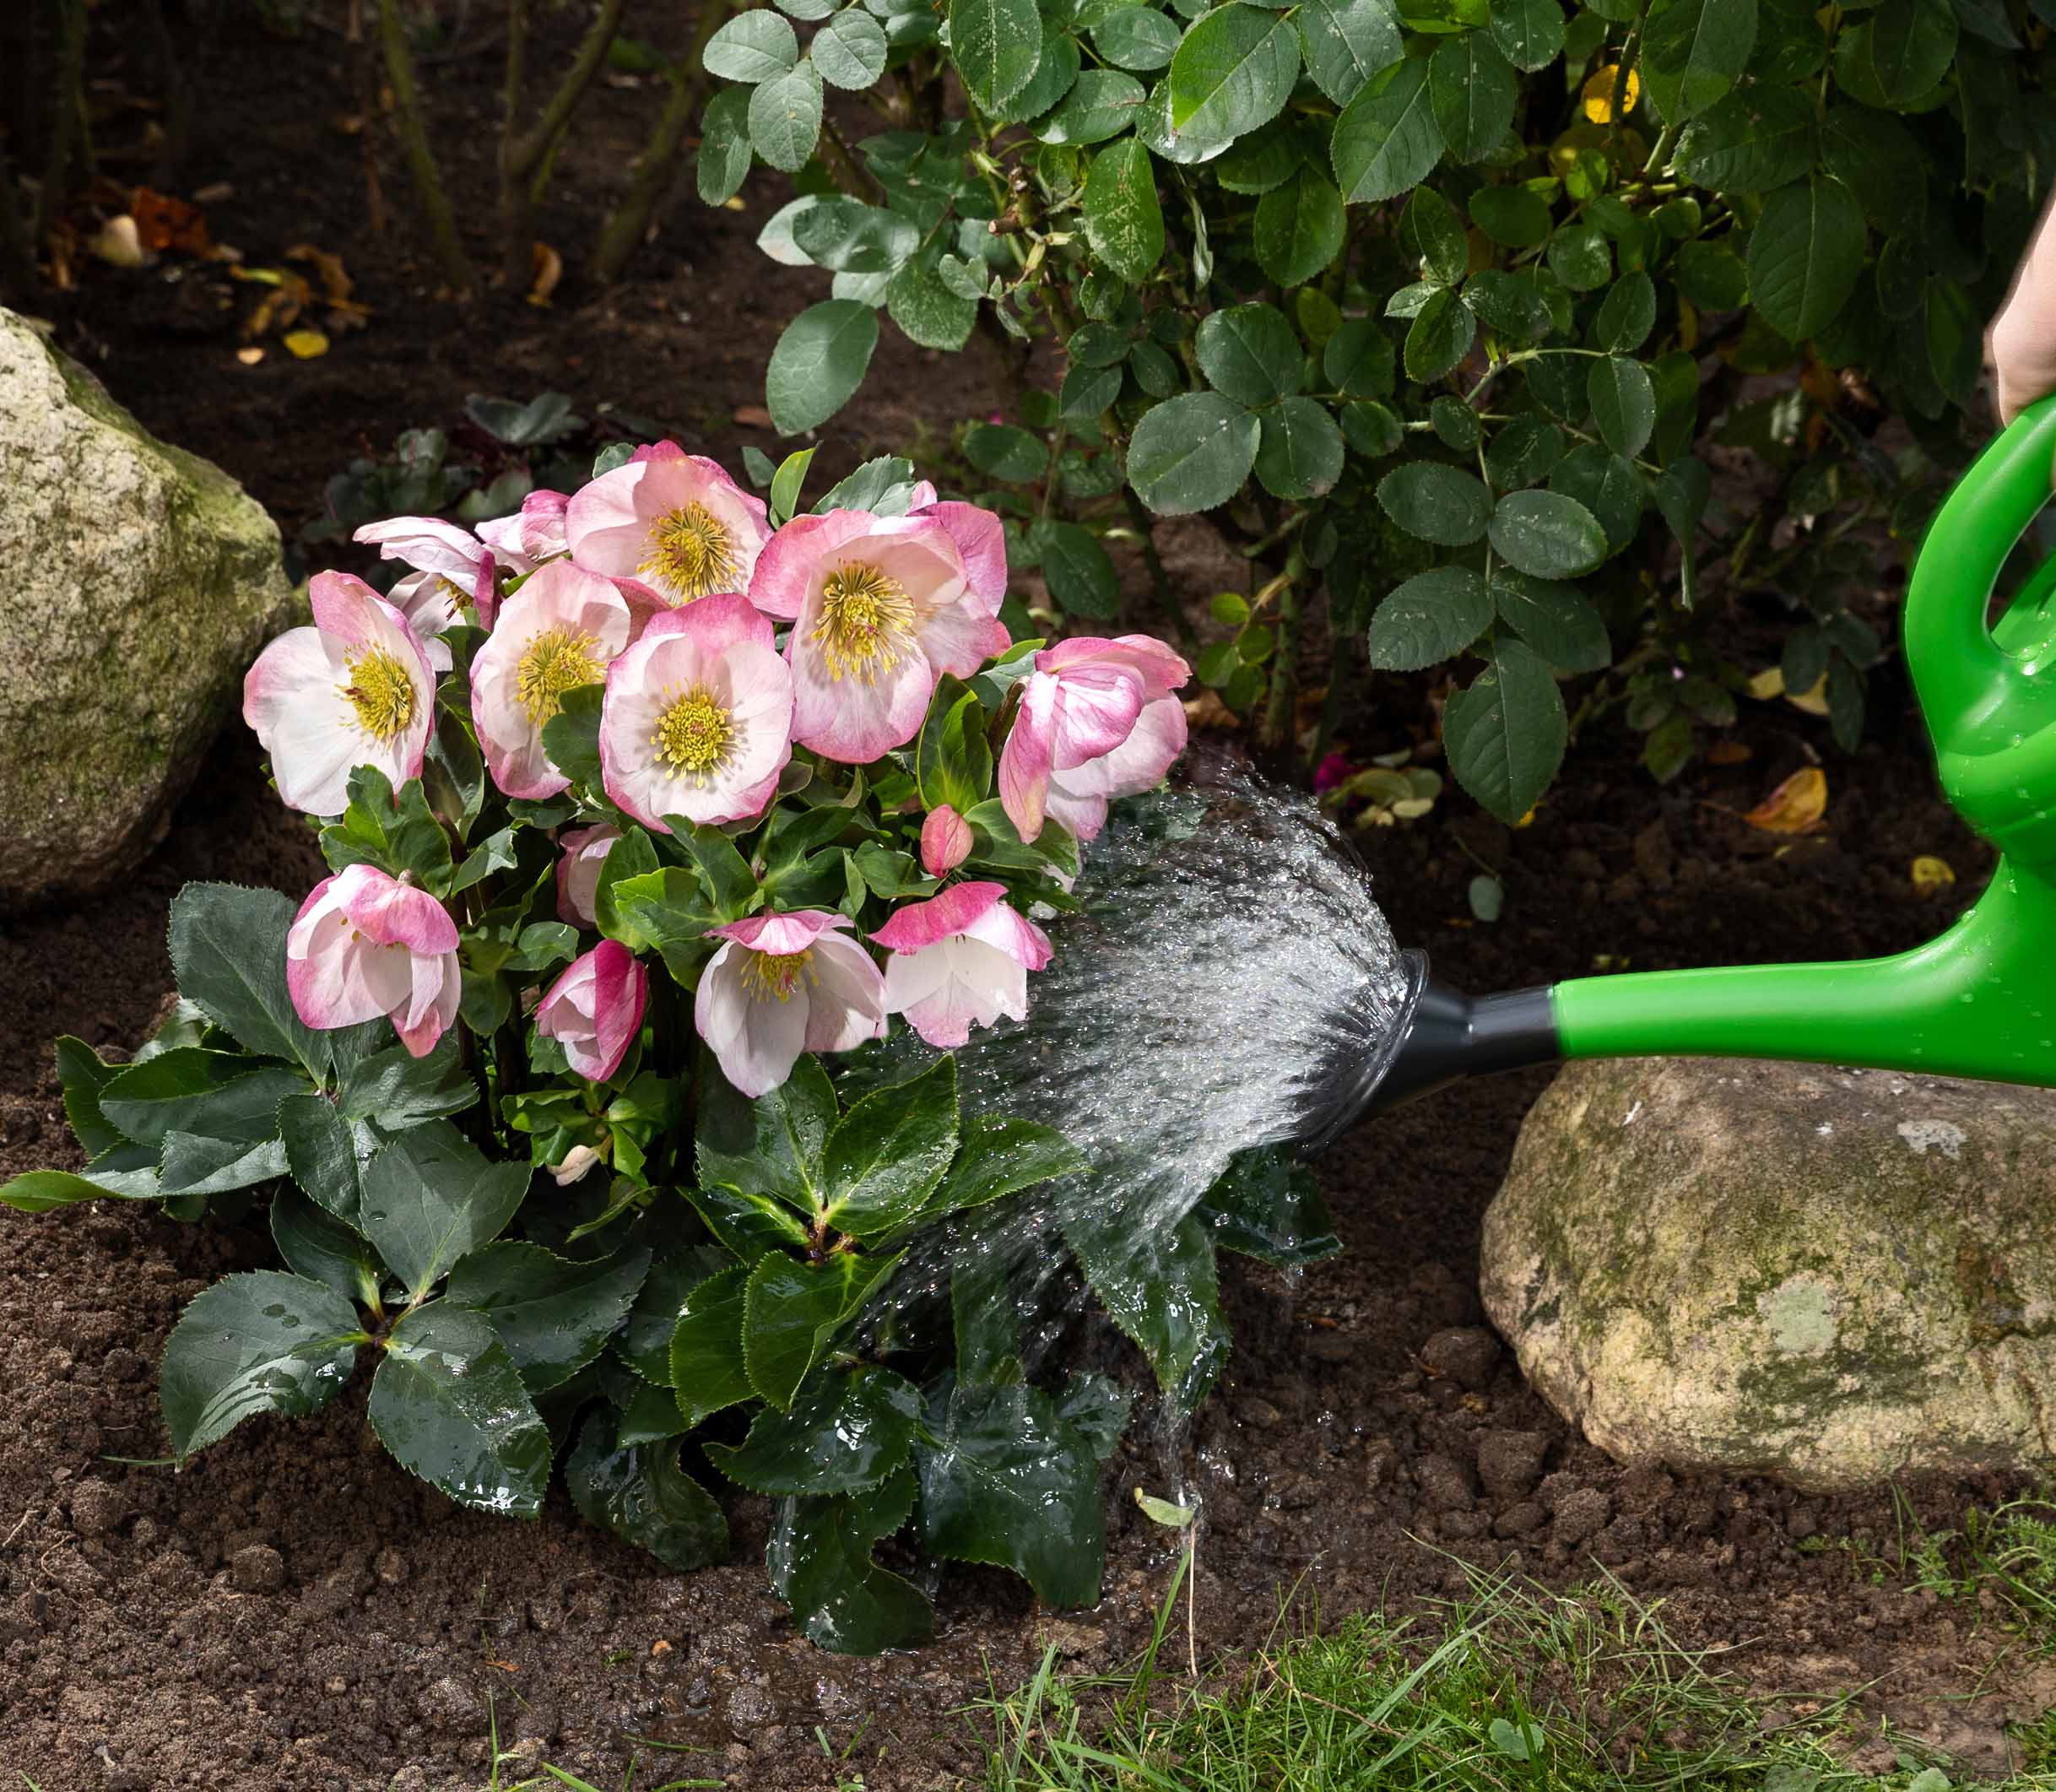
Step 4

Water the Winter Ballet variety in after planting and ensure water supply is adequate in the subsequent weeks, because the roots take several weeks after planting to spread out in the soil.

Winter Ballet varieties are very low-care and grow more beautiful every year!

Planted perennial. Don't forget to water!